The area around the base of a tree is one of the most neglected spots in the average yard. Mowing around it is a hassle, bare soil erodes and looks unfinished, and most homeowners either ignore it entirely or throw down a ring of mulch that needs refreshing every season.
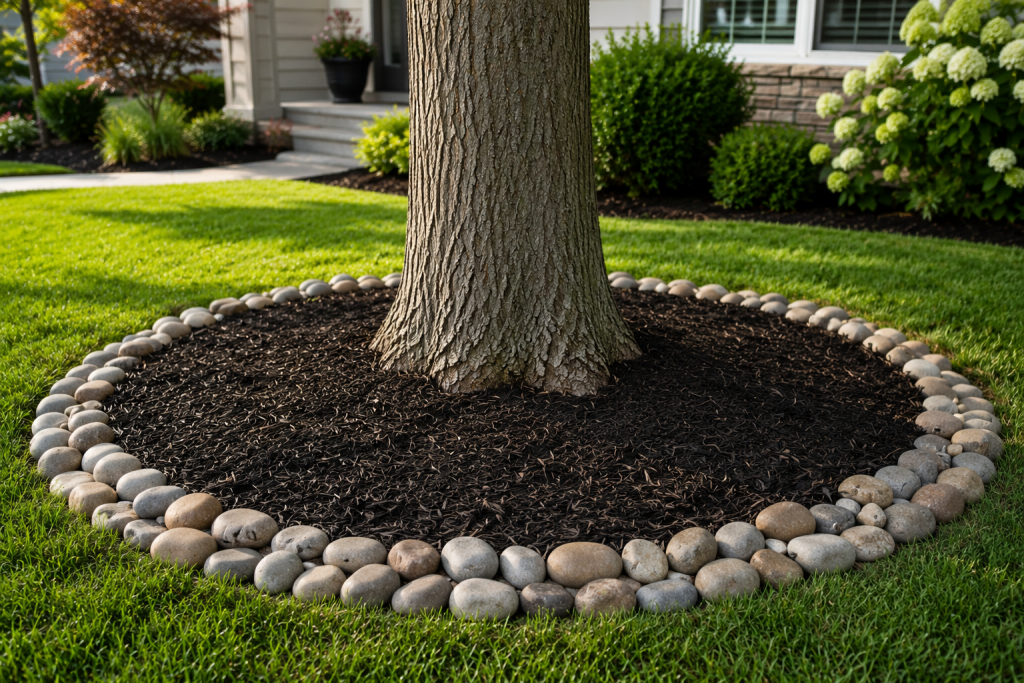
Decorative stone is a cleaner, longer-lasting solution — but there’s a right way and a wrong way to install it. Done correctly, a stone tree ring protects the root zone, eliminates maintenance in that spot, and looks intentional. Done incorrectly, it can actually harm the tree.
Here’s what you need to know.
Why Decorative Stone Works Well Around Trees
A defined circle of decorative stone around the base of a tree solves several problems at once:
- Eliminates mowing around the trunk — one of the most tedious weekly chores in any yard
- Protects surface roots from foot traffic and lawn equipment
- Reduces soil compaction in the root zone
- Suppresses weeds without requiring seasonal reapplication
- Looks polished year-round — no fading, no washing away, no seasonal color loss
Compared to mulch, stone requires no annual refresh. A properly installed stone tree ring looks the same five years from now as it does on installation day.
Choosing the Right Decorative Stone for Tree Rings
Not all decorative stone is equally suited to tree circles. Here’s how the main options compare:
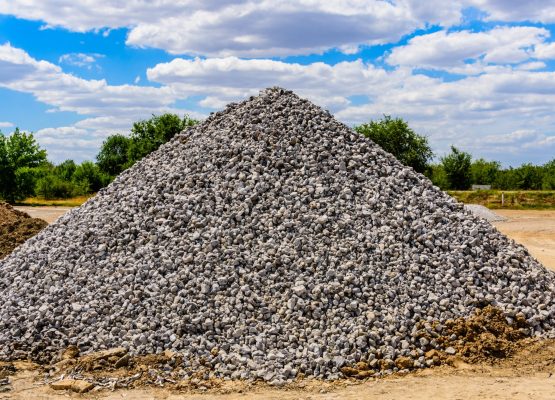
Pea Gravel / Small River Rock (3/8″ – 3/4″) The most popular choice for tree rings. Fine enough to fill the area cleanly, smooth enough to look intentional, and light enough not to create drainage issues. Works with both formal and naturalistic landscape styles.
River Rock (1″ – 3″) A slightly larger, chunkier look. Works well around larger trees where a more substantial visual presence makes sense. The rounded, smooth surface reads as natural and unforced.
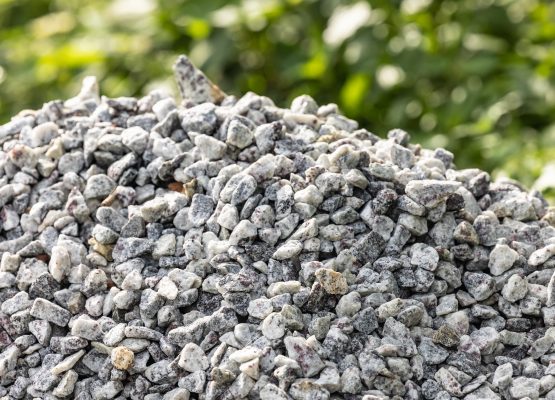
Marble Chips or White Decorative Stone High contrast and very clean-looking. Works well in formal garden settings or where the tree ring is meant to be a focal point. Keep in mind that light stone reflects heat — worth considering in full-sun locations.
What to Avoid Avoid very large stone (4″+) directly around tree trunks — it’s heavy, difficult to keep in place on any grade, and harder to adjust if the tree’s surface roots change over time.
Browse Mulch & More’s full decorative stone selection to find the right product for your project.
How to Install Decorative Stone Around a Tree: Step by Step
Step 1 — Determine the Ring Size
As a general rule, the stone circle should extend at least 2–3 feet out from the trunk for a young or medium tree, and up to 4–6 feet for a large, mature tree. A wider ring protects more of the root zone and looks more proportional on larger specimens.
Step 2 — Mark the Circle
Use a garden hose, marking paint, or a string tied to a stake at the base of the trunk to mark a clean circle. Take the time to get this right — a well-defined circle looks intentional; a lumpy or irregular shape looks like an afterthought.
Step 3 — Remove Grass and Weeds
Cut and remove the existing turf inside the circle. A flat spade works well for this. Remove as much of the grass root system as possible to reduce regrowth beneath the fabric.
Step 4 — Install Landscape Edging
Set a clean landscape edging border along the outer edge of the circle. This keeps the stone contained, prevents grass from creeping in from the lawn side, and gives the ring a crisp, finished look. Metal or composite edging set just below grade is the most durable and least visible option.
Step 5 — Lay Landscape Fabric
Cut a circle of woven landscape fabric to fit the ring and lay it over the bare soil. Cut an X-shaped slit at the center to fit around the base of the trunk, and fold the edges of the slit down around the trunk base.
Important: Leave 2–3 inches of clearance between the fabric edge and the actual trunk. The fabric should not press against the bark.
Step 6 — Apply Decorative Stone
Pour and spread decorative stone to a depth of 2 inches over the fabric. Rake evenly from the outside edges inward.
Critical: Keep stone away from direct contact with the trunk. Maintain a 2–3 inch gap between the stone and the bark. Stone piled against a trunk traps moisture and creates conditions for rot and pest problems — this is the most common installation mistake.
Step 7 — Rinse and Settle
A light rinse with a garden hose after installation settles the stone, washes off dust, and gives you a clear picture of how the finished ring looks. Add a small amount of additional stone to any thin spots.
The “Mulch Volcano” Problem — and Why It Applies to Stone Too
Landscapers and arborists frequently warn against the “mulch volcano” — piling mulch in a mound against a tree’s trunk. The same principle applies to decorative stone.
Material piled directly against the bark, regardless of type, traps moisture, promotes fungal growth, and can eventually cause bark decay and structural weakness at the base of the tree. It also creates habitat for insects and rodents.
The fix is simple: keep a clear gap between whatever ground cover material you’re using and the actual trunk. A flat, even surface that meets the trunk edge with a small buffer is correct. A mound or cone shape is not.
Maintaining a Stone Tree Ring
One of the main appeals of decorative stone around trees is how little maintenance it requires after installation. But a few things are worth knowing:
- Leaf cleanup: Stone rings collect leaves in fall. A leaf blower works better than raking, which can displace stone. Alternatively, let leaves decompose in the ring — they’ll break down over the season and don’t cause problems at a reasonable depth.
- Weed management: High-quality landscape fabric significantly reduces weed growth, but some weeds will still germinate in debris that accumulates on top of the stone over time. A quick hand-pull a few times per season is usually sufficient.
- Stone replenishment: Unlike mulch, decorative stone doesn’t break down. You may need to add a small top-up of stone every few years if the ring looks thin — but this is considerably less frequent than annual mulch replacement.
How Much Stone Do You Need for a Tree Ring?
To calculate the quantity for a circular ring:
- Calculate the area: π × radius² (radius = half the diameter of your ring)
- Multiply by depth in feet (2 inches = 0.167 ft)
- Divide by 27 to get cubic yards
Example: A 6-foot diameter ring (3-foot radius) at 2 inches deep:
- 3.14 × 9 = 28.3 sq ft
- 28.3 × 0.167 = 4.7
- 4.7 ÷ 27 = 0.17 cubic yards
Most tree rings are small enough that you’d combine this order with another project. Use the Mulch & More materials calculator to add up multiple areas in one calculation.
Order Decorative Stone for Your Tree Rings
Mulch & More carries a full range of decorative stone and river rock products available for delivery throughout Chester County, Delaware County, and Montgomery County — with same-day delivery available on many orders.
Shop decorative stone → View delivery info → Contact us → | (610) 644-8086